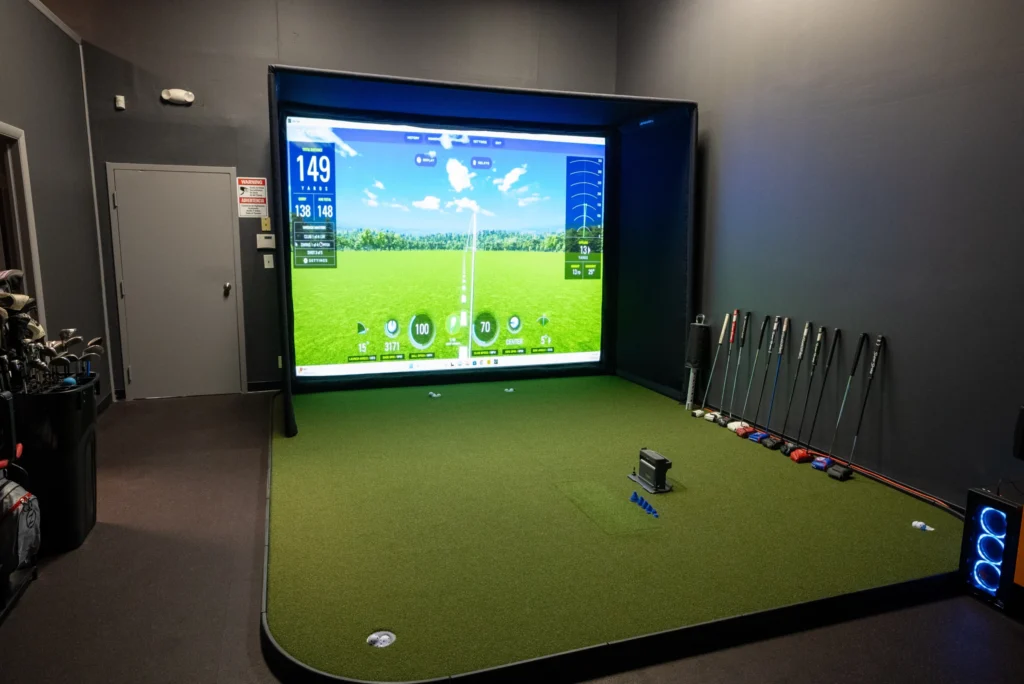
Welcome to the world of home golf simulators! If you’ve been dreaming of refining your golf skills from the comfort of your garage, home or business, you’re in the right place. At Garage Golf, we aim to provide comprehensive knowledge to golf enthusiasts looking to set up their personal golf simulator. While we will detail various features of a full golf simulator setup below, there are numerous other factors that can also come into play when piecing together your complete golf simulator setup. Feel free to reach out to us anytime at the link below if we can help you with your golf simulator needs. Best part of all, our services are completely FREE OF CHARGE!
Components of a Full Golf Simulator Setup
Launch Monitor vs. Golf Simulator
First things first. It’s crucial to differentiate between a launch monitor and a full golf simulator.
Launch Monitor
The golf launch monitor is a device designed to analyze your golf swing and the resulting ball flight. It captures data that varies between different devices but often includes items such as swing speed, ball speed, launch angle, carry distance, spin rate, and more. In essence, it’s the “brains” behind the simulation, providing feedback on your swing with detailed club and ball data.
Golf Simulator
A golf simulator encompasses not just the launch monitor but also the entire environment that replicates the golf experience. These features range from the screen or net to hit into, software to display courses and collect data, a mat to stand on and hit from, gaming computer, projector and more. We will break down each component of a full home golf simulator setup below, but remember there are always different versions and alterations that can be made based upon space requirements, budget and other determining factors. This is where we most help the clients we assist throughout this process and how we can help not only save them money but also help to prevent them from making common mistakes that can easily be avoided when armed with the right knowledge and guidance.
Below are five launch monitor options we recommend at varying price points starting from most budget friendly to higher cost units. All prices listed below are based upon the time this article was written.
1. Garmin R10 Launch Monitor $599.99:
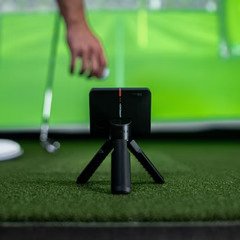
This launch monitor is placed behind the golfer. This radar based launch monitor requires about 6-7 feet behind golfer and min of 7-8 feet from the hitting area to the screen or net. The Garmin R10 works indoors and outdoors very well. This unit does not currently have putting but can be used with multiple golf simulator programs and you can use the auto putt feature to replace putting as needed. Overall the Garmin R10 is a very solid and quality device at an entry level price point. The Garmin R10 also comes with a version of E6 Connect for free for phone or tablet that includes 5 courses for use with tablet or phone. This can be upgraded to a higher end package at a cost for use with a gaming PC.
2. Skytrak Launch Monitor $1695.00:
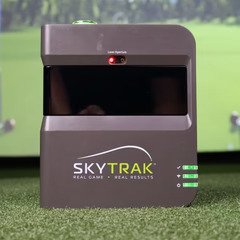
The original entry level camera based launch monitor that made golf simulators a more affordable option around a $2000.00 price point. I personally have owned my Skytrak for over 6 years now. Technology is a bit more dated by today’s standards but overall still a very decent option. The Skytrak can struggle with misreads from time to time and cannot really be used outdoors in direct sunlight at all. This device uses the same app technology as the newer Skytrak+ and still has one of the best applications on the market compared to other launch monitors.
3. Skytrak+ Launch Monitor $2995.00:
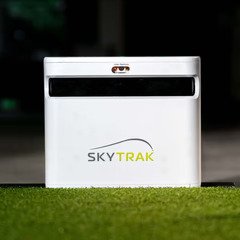
Skytrak+ is a new release by Skytrak. This is a floor based launch monitor that is placed near the golf ball to read the shots when hitting. This launch monitor also works with multiple golf simulator programs and is a fantastic upgrade to the Skytrak Launch Monitor. The misreads are much lower now as a result and delay time after shot has been shortened dramatically.
Here is the link to our full YouTube review on the Skytrak+ Launch Monitor: https://youtu.be/Cw9mnp-fpL8
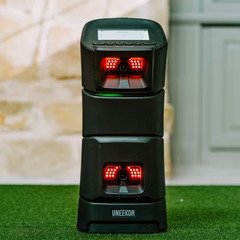
The Uneekor EYE MINI is a floor based launch monitor with instant swing feedback via video of the club face contacting the golf ball. Uneekor is a very well known brand with a good history in the golf sim market. This is a very good quality device with several golf simulator programs as options as well. The EYE MINI integrates officially with one of our favorite golf simulator program which is GSPRO.
Here is our full YouTube review on the Uneekor EYE MINI: https://youtu.be/-XktPx7OFZM
5. Uneekor EYEXO Launch Monitor $10,000.00:
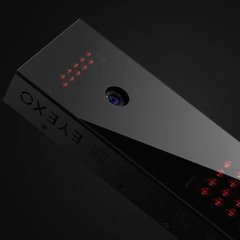
The Uneekor EYEXO is a ceiling mounted launch monitor that ceiling mounts 3.5 feet in front of the golfer. The EYEXO is the top selling Uneekor model and does not require marked golf balls. The EYEXO features dual high speed cameras and also works with multiple simulator software options. The appeal of the EYEXO is that it features over 14 different points of both ball and club data to include the following below:
Ball Data (dimple read): Back Spin, Side Spin, Total Spin, Spin Axis, Ball Impact on Club Face
Club Data (read with reflective stickers): Smash Factor, Club Speed, Club Path, Club Face Angle, Attack Angle, Club Loft Angle, Club Lie Angle, Impact Point Vertical, Impact Point Horizontal
Golf Net or Impact Screen/Enclosure
When setting up home golf simulator, if you are looking for a complete setup in which you will hit real golf balls, you will certainly need something to actually hit the ball into.
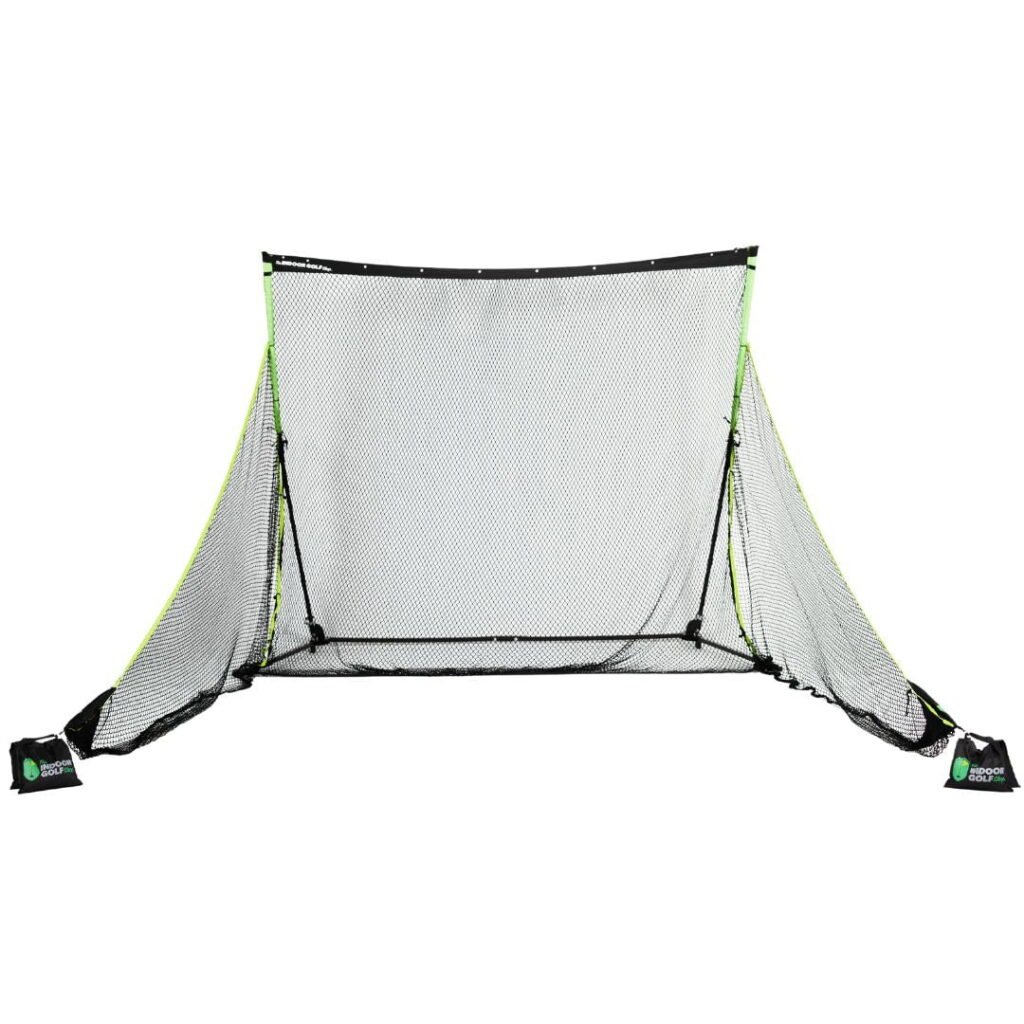
Golf Net: A simpler, more budget-friendly option. While you won’t get the immersive experience of hitting into a virtual course, a net is perfect for those looking to practice swings and get ball data in a budget golf simulator setup without the full visual experience. A golf net is often typically paired with a computer screen or TV via an HDMI setup with a computer so the golfer can still look to the monitor to see ball flight and data after hitting golf shots.
OR
Screen/Enclosure: This is a golf impact screen where the virtual golf course is displayed by a projector. Besides visual aesthetics, a good quality screen ensures proper display clarity and can handle the impact of a golf ball without damage. The better the screen quality, the longer the screen will last and the better the image will look with a projector display. Even with the screen/enclosure option there are ways where some costs can be saved if you are relatively handy. Below are two options to consider for a possible screen/enclosure setup.
DIY Golf Simulator Enclosure (Comes with Connections but Poles Not Included):
If you even remotely handy and are willing to purchase your own EMT Conduit at a hardware store, this is a great option in regards to a sim enclosure setup. When you order the DIY kit they also send you the metal pole shopping kit along with sizes required which typically totals less than $200.00 at a local hardware store but saves you easily over $1000.00 from a fully shipped sim enclosure with the poles provided.
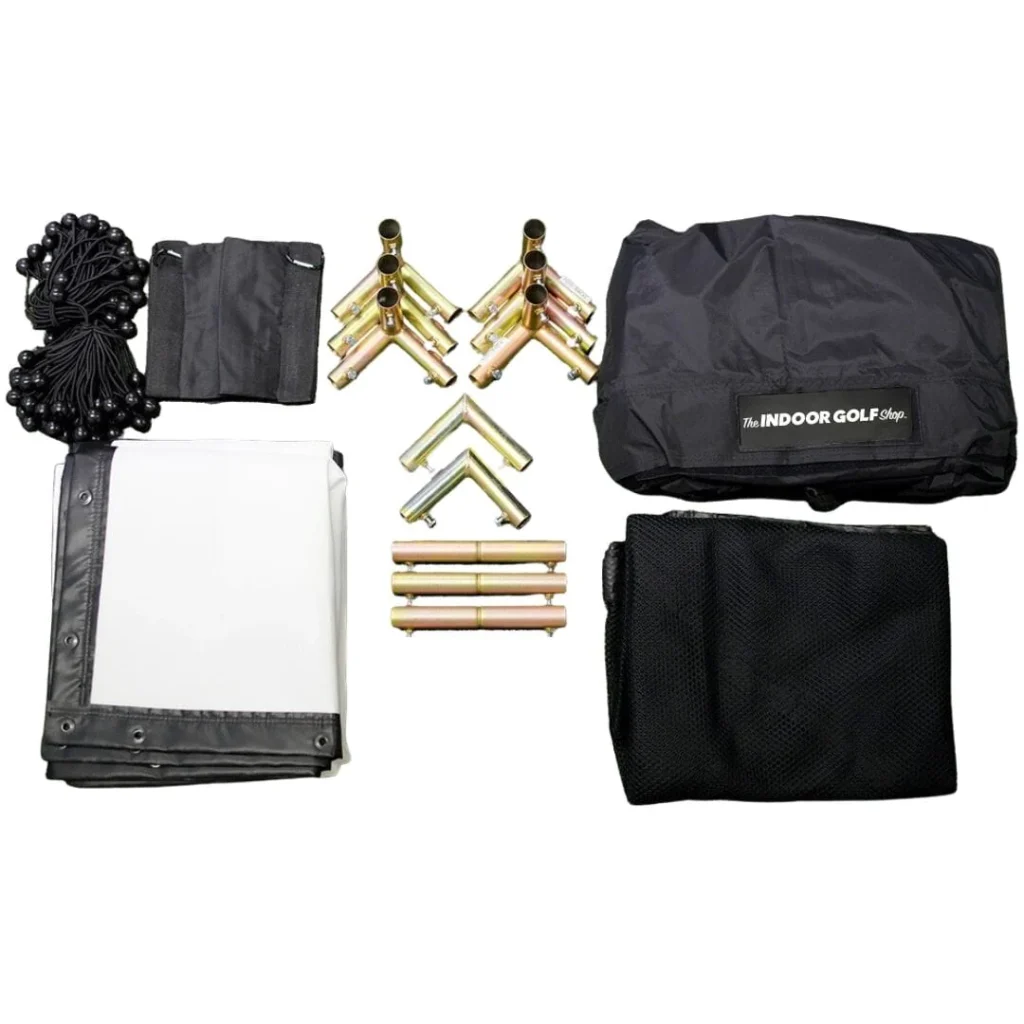
SIGPRO Premium Screen
Push Pin Poles & Connectors
Protective Foam Padding
Premium Surround Material
6″ Ball Bungees
Side Barrier Netting
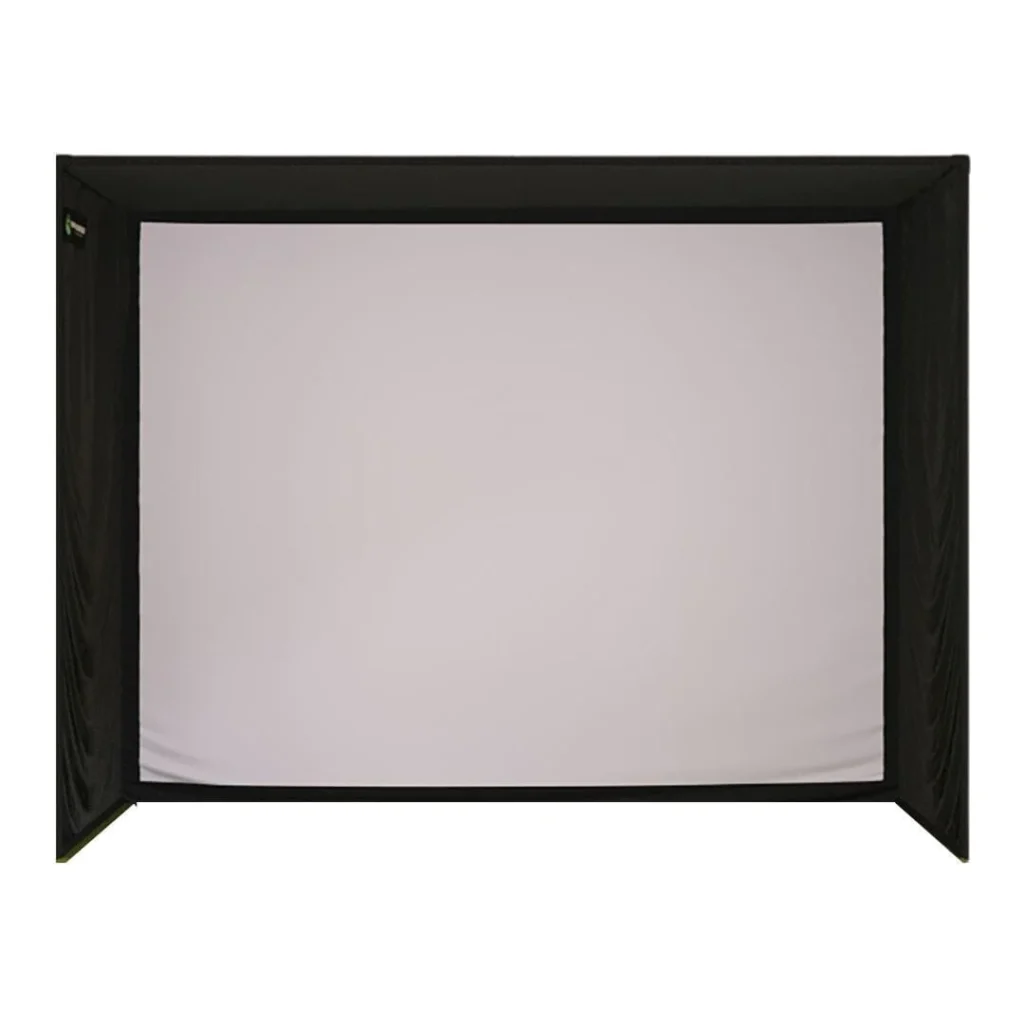
The SIG Enclosures are a fantastic and easy setup. The poles are color coordinated and snap together for easy installation without tools. You won’t find an easier solution or better quality product out there from the poles to the screen.
Golf Mat
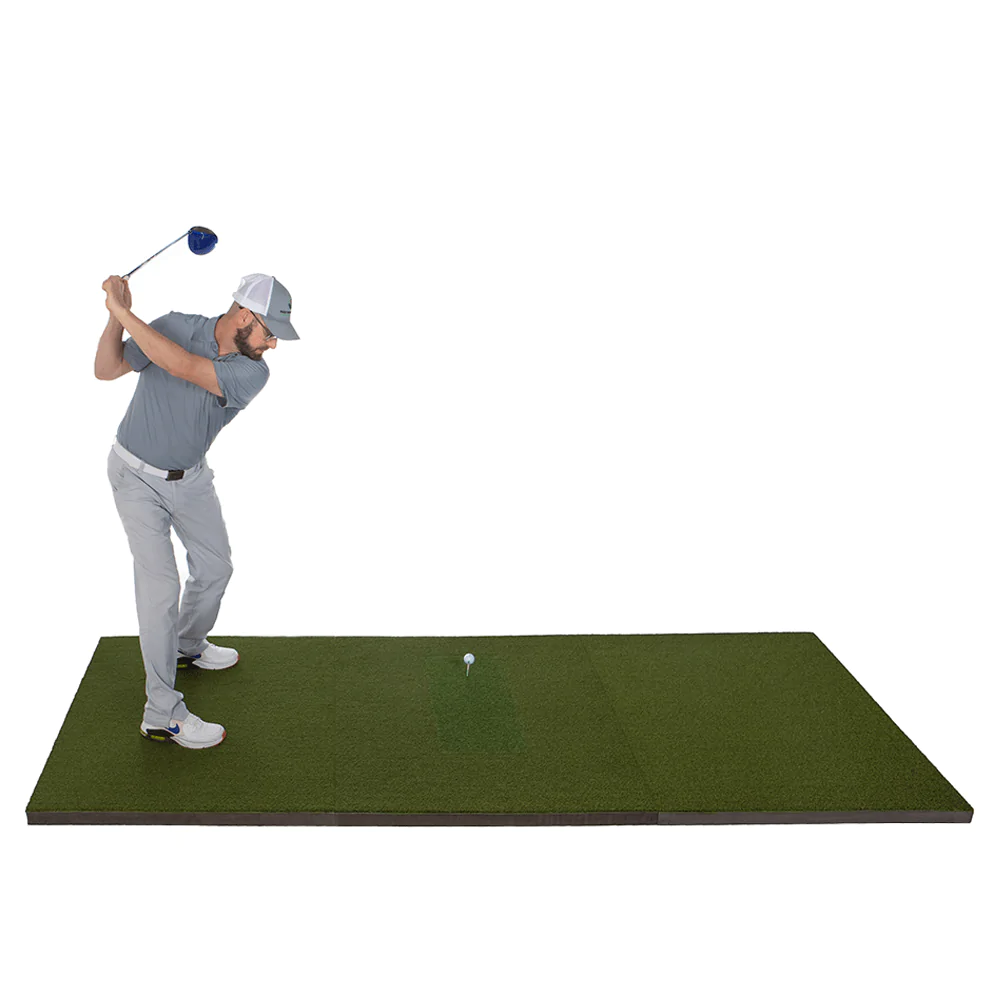
Here at Garage Golf, we feel that the golf mat is by far the most critical component of your best home golf simulator setup. The golf mat is where you’ll stand and hit the golf ball from and it is going to be used repeatedly for each and every shot in your DIY garage golf simulator. Hitting mats are not all created equal. A good quality golf mat not only helps to protect your joints and elbows by absorbing shock but it also allows you to properly hit down and through on a golf ball and get proper feedback on fat and thin shots so you know how to further work on your golf game. This experience provides feedback similar to real turf, helping you refine your swing.
At Garage Golf, we highly recommend the SIG PRO Softy Golf Mats. Its realistic feel and durability make it an excellent investment for avid golfers. The best part of this golf mat is its durability. We have had ours now for over two years and it still looks as good as the day we received it.
Landing Pad
Positioned between the front of the golf mat and the screen, the landing pad prevents the ball from bouncing around after a shot. Since we normally suggest placing the middle of the hitting mat at around 9-10 feet from the screen/enclosure or net, this keeps your setup between those two spaces tidy and reduces the risk of stray balls causing damage or injury. The landing pad also provides a constant and consistent look to your golf simulator that gives it a little something extra in regards to the overall design concept as well.
Below are different landing pad options from our partner vendor at The Indoor Golf Shop based upon 8ft, 10ft and 12ft enclosure widths.
Landing Pat Mat for SIG8 Golf Enclosure:
https://shopindoorgolf.com/products/landing-pad-mat-for-sig8-golf-simulator-enclosure?aff=160
Landing Pad Mat for SIG10 Golf Enclosure:
https://shopindoorgolf.com/products/sig10-landing-pad?aff=160
Landing Pat Mat for SIG12 Golf Enclosure:
https://shopindoorgolf.com/products/sig12-landing-pad?aff=160
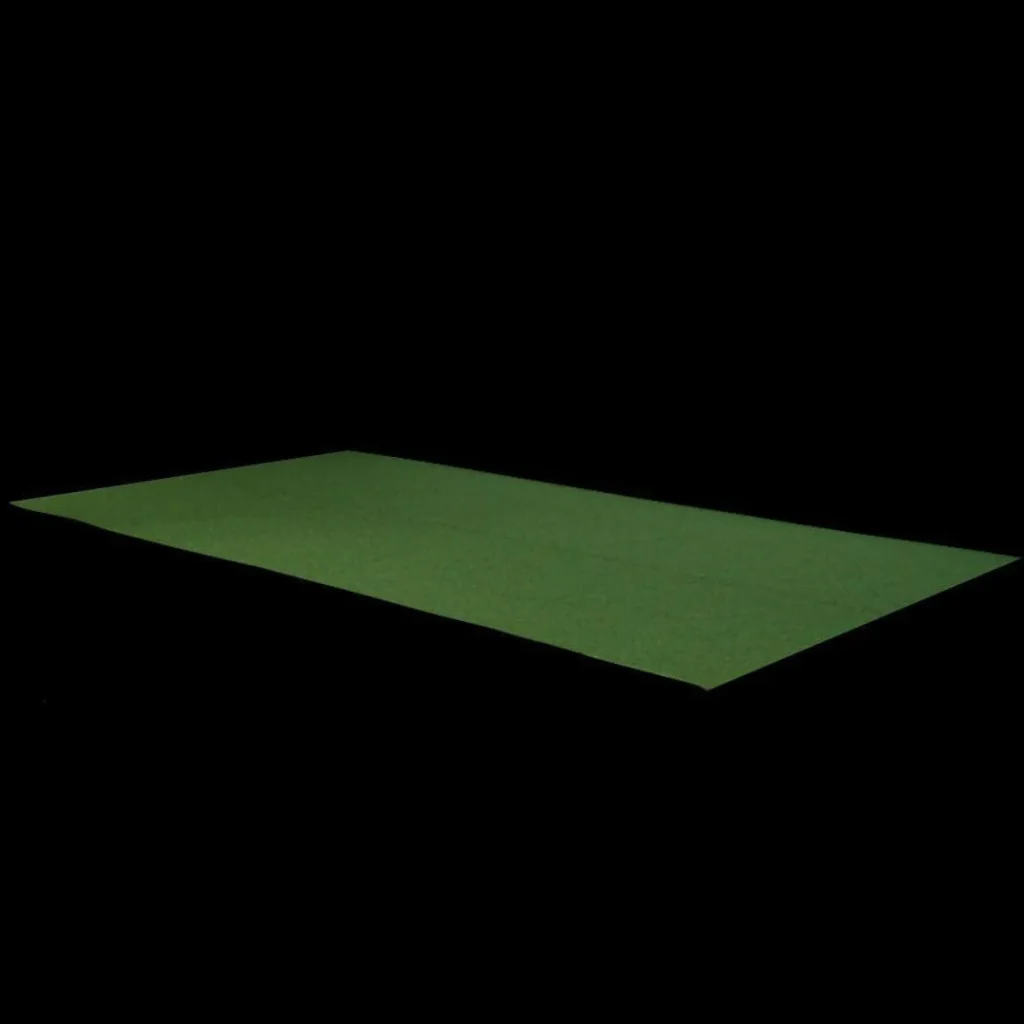
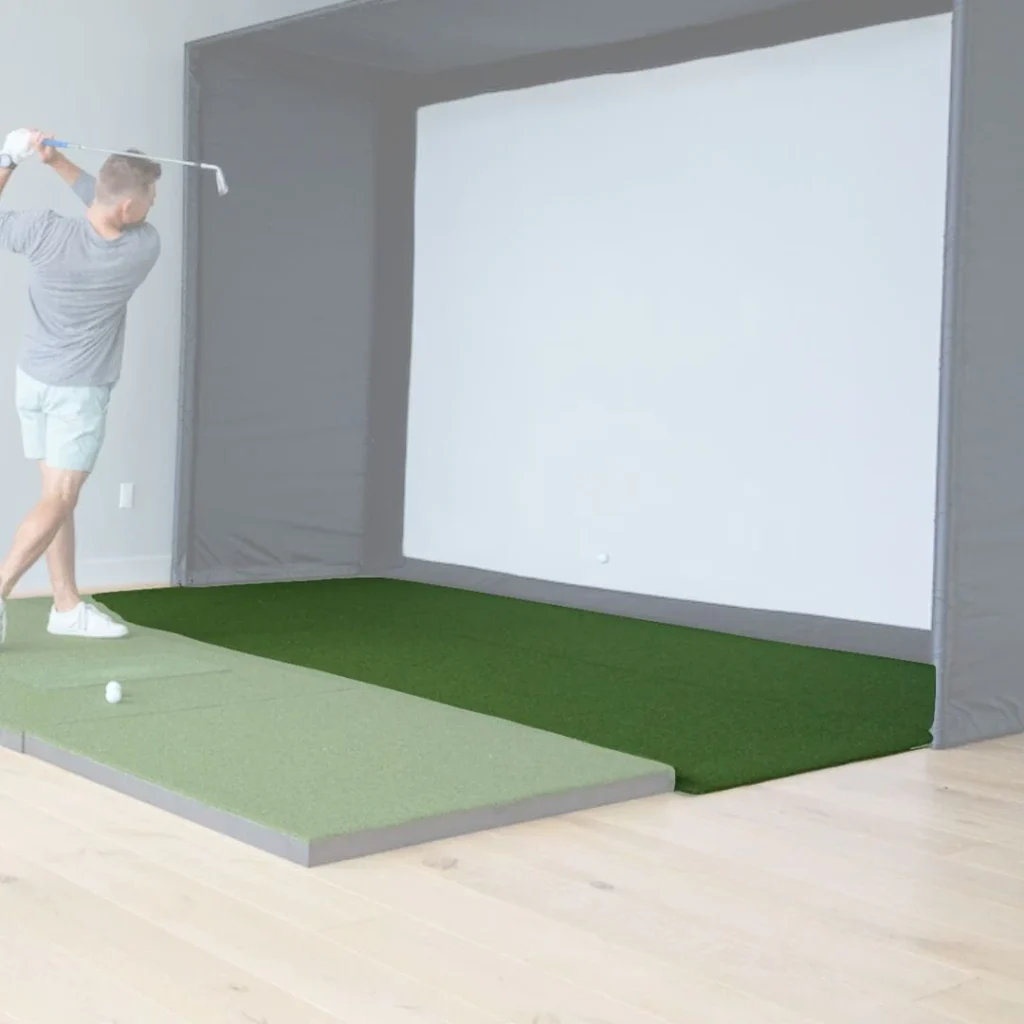
Looking to save some money on a landing pad setup? Consider using 1″ exercise foam panels that puzzle piece together to accomplish a similar setup? This still works very well and stops the golf ball from bouncing all over the place. Here is an example from Amazon of what we normally suggest for this budget friendly option: https://amzn.to/3Of6sBt
Projector
The projector casts the golf course simulation onto your screen. When choosing a projector, consider its brightness (measured in lumens), resolution and aspect ratio to ensure a clear and bright display. The projector selection is by far the most complicated part of the golf simulator setup and one that we are happy to assist you with in order to make sure that you get the right projector based upon your screen size and mounting position from the screen.
Below are two popular projector options that we have assisted several clients with in regards to their home golf simulator setups on a regular basis.
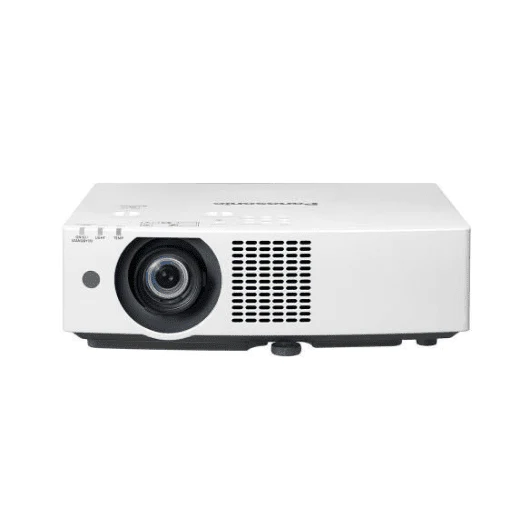
Panasonic VMZ51U Golf Simulator Projector $2499.00:
1.09 to 1.77: 1 Throw Ratio
A fantastic 1080p laser projector that makes correcting the image to fit a golf simulator screen super easy. 5200 lumens keeps the image nice and bright even when ambient light is present. 3,000,000 to 1 contrast ratio. 4 Corner Correction, Vertical and Horizontal lens shift all make adjusting the image very easy. Incredible image.
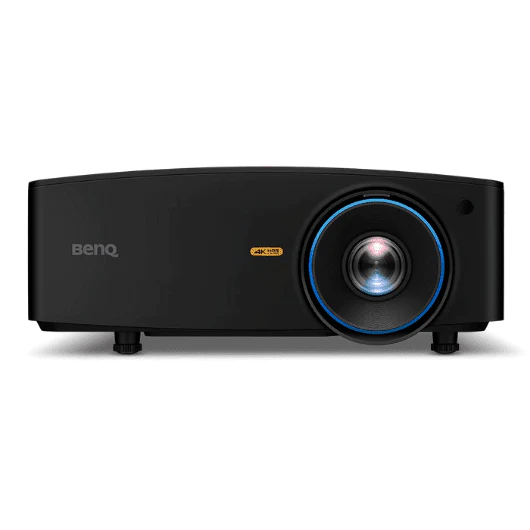
BenQ LK936ST Golf Simulator Projector $4899.99:
0.81:1 – 0.89:1 Throw Ratio
A top of the line laser projector with 4k resolution. One of the first projectors specifically made with Golf Simulators in mind. This projector features a 0.8 Short throw ratio and 1.1x zoom capability. When installed 14-15 feet from the screen, the LK936ST can easily project images nearly 10 feet tall. 3D Keystone and Corner Fit are great features for ideal projection alignment. Other features of this projector include 5100 lumens and 4k UHD 3840 x 2160 resolution with 8.3 million distinct pixels. The LK936ST also has digital shrink and shift without distortion.
Projector Mount
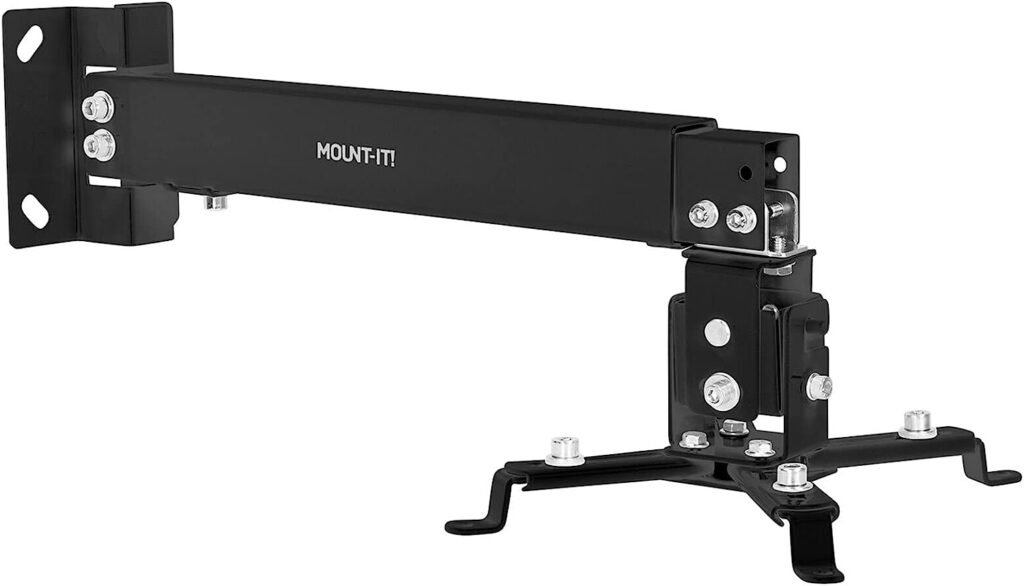
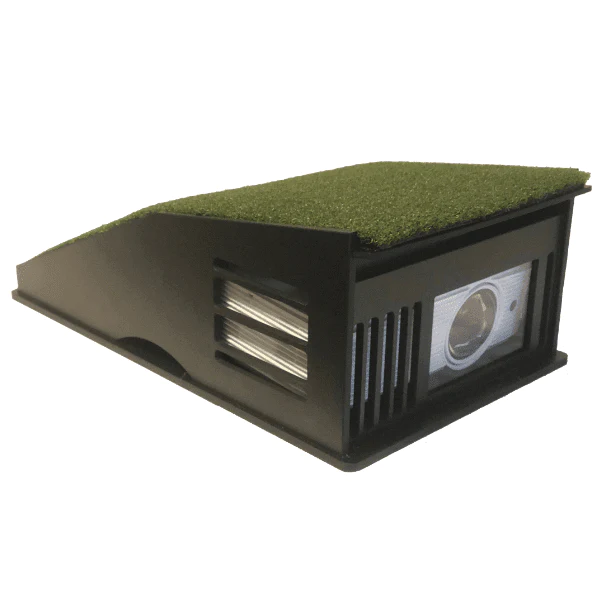
Depending on your own golf simulator setup, you will most likely need a mount for your projector. Ceiling mounts are common, but ensure it’s sturdy to prevent any movement or vibrations that could distort the projection. Depending on your available space you can also opt for a floor based golf simulator projector mount to suit your needs. Examples and common options for two projector mounts are included below.
Ceiling Projector Mount with Optional Drop Down Pole: https://amzn.to/46Mi1HY
Projector Floor Mount with Shield
Golf Simulator Projector Floor Mount Enclosure: https://shopindoorgolf.com/products/golf-simulator-projector-floor-mount-enclosure?aff=160
Amazon Ceiling and Wall Mount
Gaming Computer (Required for Most Golf Simulation Programs)
A high-quality golf simulator demands a powerful computer, specifically a gaming PC, to run smoothly. Gaming computers can handle the graphics, physics, and data processing necessary for a realistic golf simulation.
The following are minimum parameters we typically recommend for today’s golf simulator requirements:
Processor (CPU): I7 Processor or Higher (No Mac Products)
Graphics Card (GPU): Nvidia RTX 2080 Graphics Card or Higher (Click Here for a List of Graphic Cards in Order of Performance)
RAM: Minimum of 16GB
Storage: 1TB Hard Drive or larger.
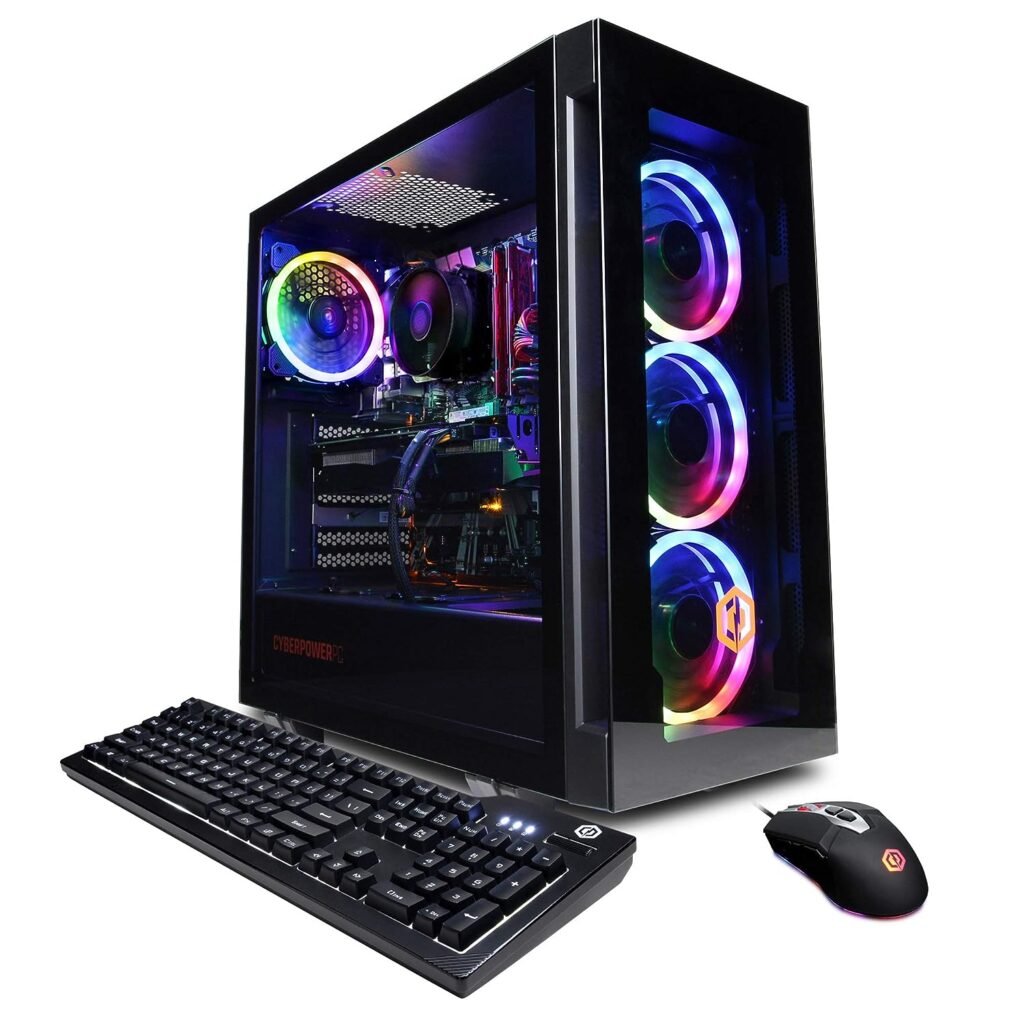
Below is a computer option we recommend based upon the fact that we own the exact same model and it has been a great option for us at a fair price. One of the things we love about this particular computer in addition to RTX 3060 graphics card is the one HDMI out and 3 Display Port out connections for the ability to hook up to 4 monitors/tv’s and/or projectors.
Cyberpower PC Gamer Extreme VR Gaming PC $1190.00 (Have this PC in our facility)
Golf Simulation Software
Each software below has its distinct features and advantages, catering to various needs and preferences. Whether you’re looking for a rigorous training tool, a platform for design and creativity, or sheer entertainment, there’s a golf simulation software out there for you. Let us know if you have questions on any of the simulation options below as we are happy to tell your our personal experiences and software costs with each of the following programs.
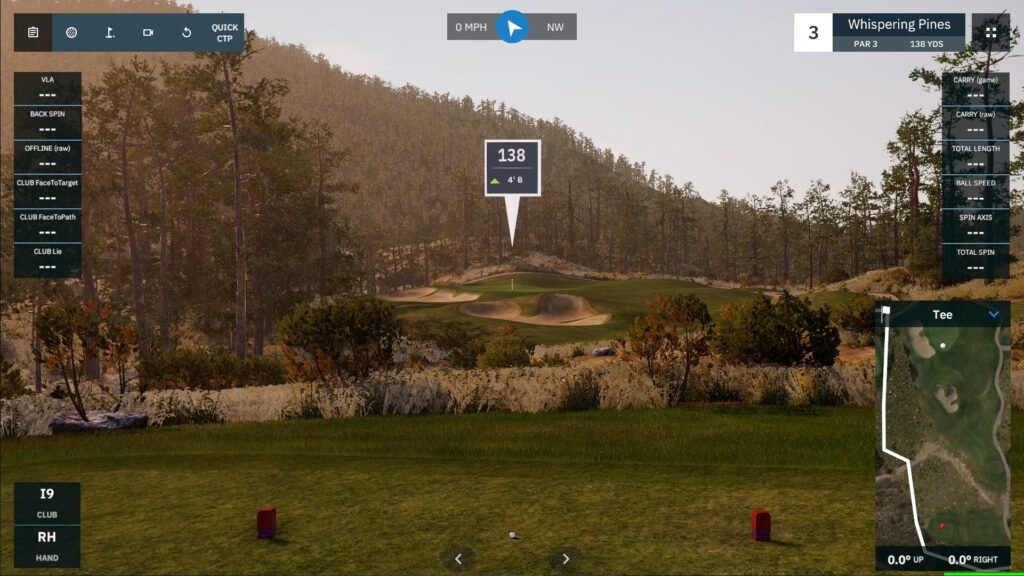
GSPRO:
One of our favorite options here at Garage Golf, GSPRO is one of the newer entries in the world of golf simulation software, boasting high-definition graphics and an intuitive user interface. This software offers realistic play experiences across a range of beautifully-rendered courses, allowing users to practice, compete, and refine their skills in various conditions. With its state-of-the-art shot analysis and feedback, GSPRO aims to provide golfers with a comprehensive tool to improve their game.
E6 Connect:
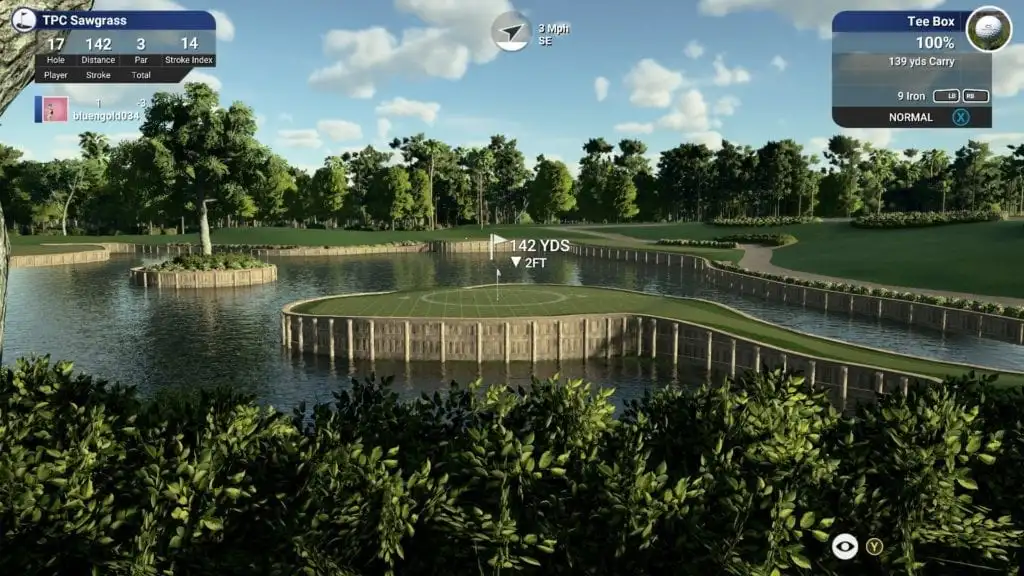
E6 Connect is a cutting-edge golf simulation software by TruGolf. Renowned for its lifelike graphics, it brings an extensive library of real-world golf courses to your simulator. Beyond just playing rounds, users can engage in peer-to-peer connectivity for real-time online events, tournaments, and multiplayer competition. The software also features practice ranges, putting greens, and various games and challenges, making it versatile for both leisure and rigorous training.

TGC2019 (The Golf Club 2019):
The Golf Club 2019, often abbreviated as TGC2019, is a reliable option among simulation enthusiasts. What sets TGC2019 apart is its ghost player feature which allows you to play against either computer players or previous players who have played the course, keeping competition alive when playing along and keeping things very interesting to say the least. With thousands of user-generated courses alongside its official ones, TGC2019 offers an endless variety of golfing experiences. Its realism, swing feedback, and community involvement make it an option to consider.
Awesome Golf:
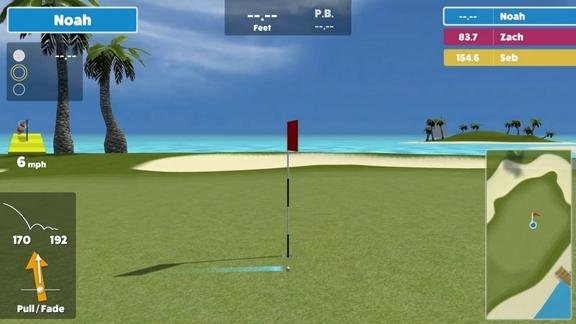
Awesome Golf is tailored for fun and immersive gameplay, perfect for both beginners and seasoned golfers. The software brings a unique blend of real-world golfing with gamified features. Players can enjoy traditional golf courses, but the real charm lies in its vibrant and imaginative challenges, games, and animated environments. Think of sinking putts while dodging animated alligators! This blend of realism and entertainment makes Awesome Golf a delightful choice for family-friendly golf simulation setups.
Final Thoughts
In conclusion, building a golf simulator in your own space is an intricate process, with each component playing a vital role in the overall experience. Whether you’re going for a budget setup or a full-blown professional simulation, the right equipment can make your golfing dreams a reality instead of a nightmare. As always, Garage Golf is here to guide you every step of the way throughout the process, completely free of charge. We are happy to help and look forward to talking with you soon!

